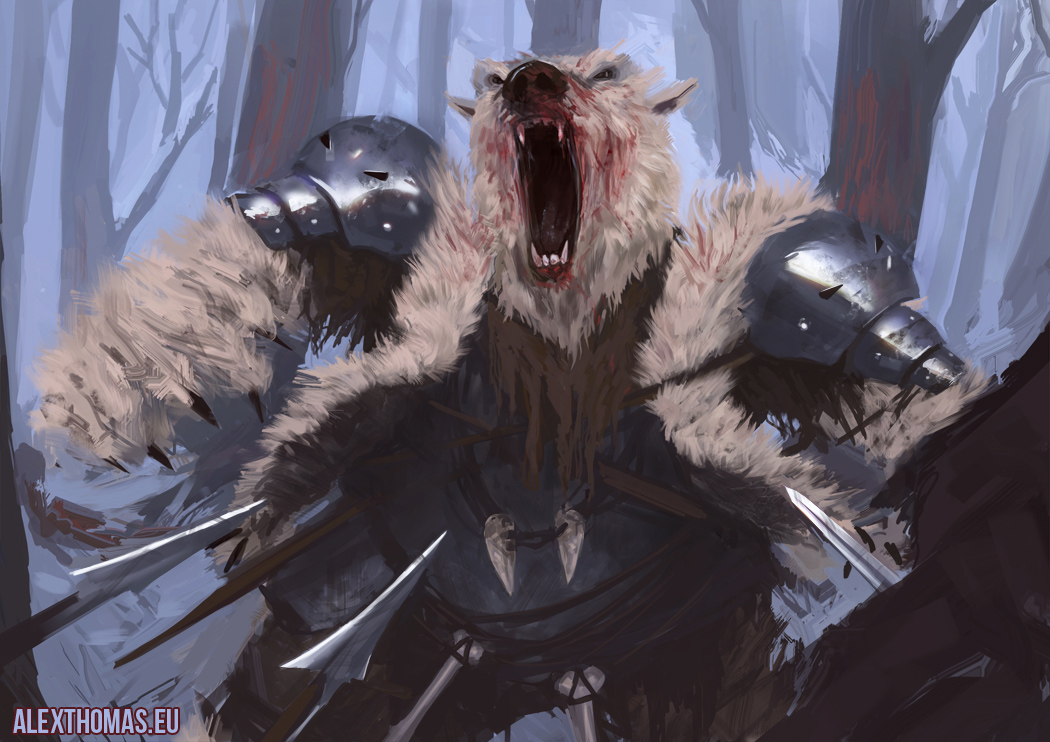
This is another print that i did for War Horse. It is originally 25x60cm big. I used simliar techniques to the last print that I did on the same book.
I had a few questions about process on this piece so I thought I would give it a break down to show how I build up the plate to the final image. I'm going to assume that people reading this will no some basic print process of etching because explaining everything would take ages and im bad at explaining things. any way's here is my process broken down abit.
1.
First I start working out a thumbnail that I think is strong enough compositionally. This can take some time. I rather take my time at this stage and make my mistakes on paper than on the coper. You also have to go with an image that you like. sounds silly but etching can be a long process and you have to like the print to keep motivation with the image.
2.
Once I have an image I like I work it up to a full size draft on paper. this drawing can take awhile making sure things work well. structure, anatomy and so on. i tend to spend quite awhile at this stage and it were i use reference making sure things are feeling right. To check for mistakes i will often scan these into the computer to get another perspective on the image and notice mistakes easier. some people use mirrors to see reverse images of there work to check mistakes this works well too. i just like Photoshop at this stage because I can move bits about abit freely. then I finish up the original drawing ready for the next stage.
3.
Once I've got this drawing how 'm happy with it. I will then put a piece of tracing paper the same size as the full sized draft and trance my lines. its best to fix the tracing paper in a few places as it tends to move and will distort your drawing. once this is done you can start preparing your plate with a normal hard ground. with this plate i had to ask for help to smoke the hard ground on the plate because of the size.
4.
Now the plate is ready and the drawing is all draw up on the tracing paper it time to transfer your drawing to the plate. To do this take your piece of tracing paper which should be the same size as your plate and place it face down on the hard ground on the plate. tape this with abit of tape to avoid any more added scratches to the hard ground.
So now it should be that the draw side of the tracing paper is face down on your hard ground on the copper plate. Now carefully avoiding putting too much pressure on the tracing paper begin to trace over your lines from the other side onto the plate. this will transfer the lead from your drawing on to the plate. there are simpler ways of transferring drawings to plates but I've preferred this method. it also flips your image for you which i always really liked. so your print will come out the right way round.
5.
once the drawing is complete on the back of the tracing paper remove the tracing paper from the plate. there will be a few scratches however careful you are. leave these for now. now you can draw the image into the ground. follow your original lines around your image until you are done. this is why it is important to make the draft image as good as possible because it will become the final line are for the image. now you can apply stop out to the scratches that you don't want to etch in the acid now. Prepare the plate for the acid by protecting the back of the plate with brown tape. the acid will eat into it very quickly so its a good idea to protect it to get a good print at the end.
Times that the plate would have to be in acid varies on acid strength. I would leave it in for about 45minutes at first see how its going. if your trying to create depth in line you can paint out bit the background at this point and then put it back in to create darker lines in the foreground.
6.
Once your lines are done time to test print. first test print feels great.
7.
Ok in this plate which i have been working on quite allot. I tried to create a texture in the plate using an open bit. First I would stop out anything that you don't want to be bitten first. this is around part you dont mind having texture. this way you can make sure which parts get texture. Now the next part involves a hot plate. you are also going to need stop out, water and some kind cloth to absorb water. place you plate on the hot plate now being careful of electrics. put small puddles of water on the plate. then using your stop out on a brush brush big blobs into the water trying not to touch the plate. once there enough stop out in the water us ur cloth to absorb the moisture for the edge of the puddles. this will create bubbling and texture in a very controlled way. there is also marbling but this process is very hard to control unlike this process. however I would test it out a few times first. once this is done its going to have to go in the acid for an hour and a half to 2 hours. this will create some really interesting natural textures in your image.
8.
after this I would scan my test print onto the computer to work out my aqua-tints layers. aqua-tint its easy to get tones looking to similar trying to be to complex. going onto Photoshop and working on roughly how your layers are going to work with the layers digitally will help you get you head around it. especially if its a really detailed image. From this I continue to do my layers in aqua-tint with base tones. Its best to try and get a wide range of tones with etching. with some really lights some mids and some really dark.
9.
After I got the aqua-tint layers done I will test print it then go straight into a spit bite layer over the ground. this is when you paint the acid onto the plate instead of dipping it. It makes it more cloudy and atmospheric. This is using the same process of stopping out what i don't want tone on. Once this is done i test print the plate. and work out where im going to go. this could mean apply another layer of aqua-tint over aqua-tint or could be burnishing the plate to make areas lighter. it depends plate to plate. but there is normally some working into at this stage. especially on bigger plates.
Things to look out for that could go wrong at this stage and would be best avoided would be over burnishing an area on the plate. over burnishing could damage an area of the plate and would be hard to impossible to aqua-tint back into. Another would be putting to many layers of aqua-tint on a plate. aqua-tint is build up of grains of dust and with multiple layers can resort in parts going lighter instead of darker.
Anyway's I hope that helps abit.:)
im going to update this post again in the future with some pictures to help explain things soon but if anyone has any questions best to contact me on alexthomas.no87@gmail.com
thanks